Wir freuen uns, Ihnen eine benutzerfreundlichere, auf Ihre Sprache zugeschnittene Navigation anbieten zu können. Bitte beachten Sie jedoch, dass Sie sich erneut anmelden müssen, wenn Sie bereits auf unserer alten Website registriert waren. Um sich zu registrieren, besuchen Sie bitte die Seite Registrierung/Login.
Wenn Sie Hilfe benötigen, besuchen Sie bitte unsere Kontaktseite.
Vielen Dank, dass Sie unsere Website gewählt haben!
3 Bow Bimini Top Instructions
STEP 1
Fit Crossbars into Starboard Frame.
STEP 2
LAY FABRIC AS SHOWN (SLEEVES UP).
FEED THE CROSSBARS THROUGH FABRIC SLEEVES
STEP 3
ATTACH WEBBING STRAPS TO BIMINI (4 PLACES)
STEP 4
HEIGHT ADJUSTMENT
The bimini is now assembled. Before mounting, you may trim the bimini for your optimal height. Trimming the bimini and reducing the height will significantly increase stability.
STEP 5
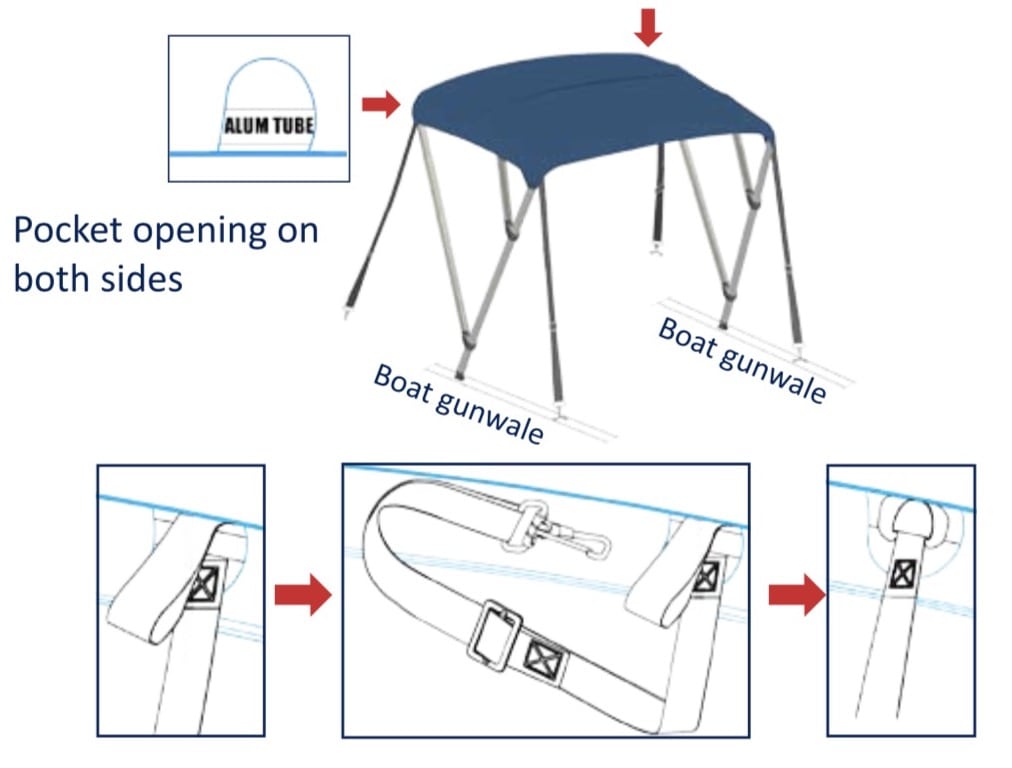
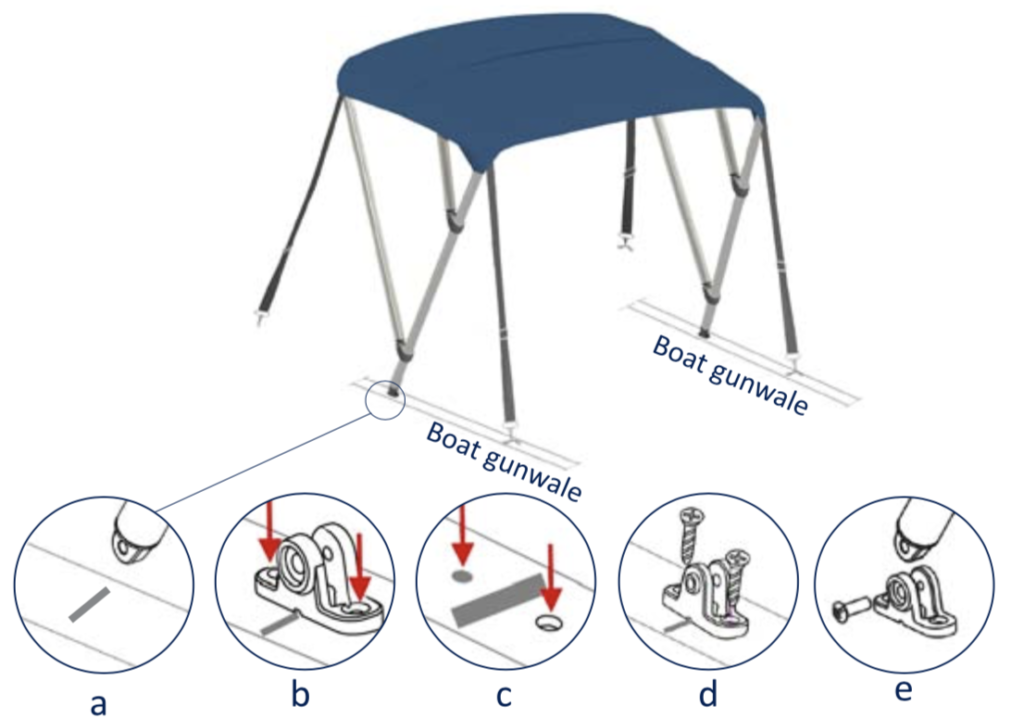
ATTACHING THE BIMINI TO THE BOAT
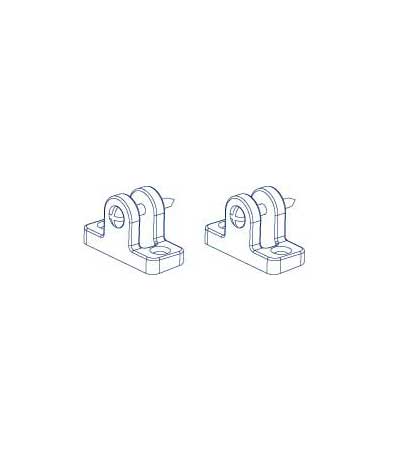
a. Mark the attachment positions (2 places for deck mounts) Keep Bimini level whilst marking.
b. Center Deck Mount over marked position.
N.B. Make sure the Deck Mounts “lean” is towards the inside of the boat.
c. Drill holes for Deck Mounts on marked positions to suit screws used.
N.B. The type of screw used will be determined by the construction of your boat (gunwale).
d. Fit the Deck Mounts. (2 places)
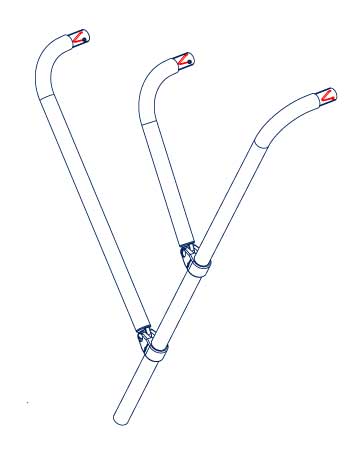
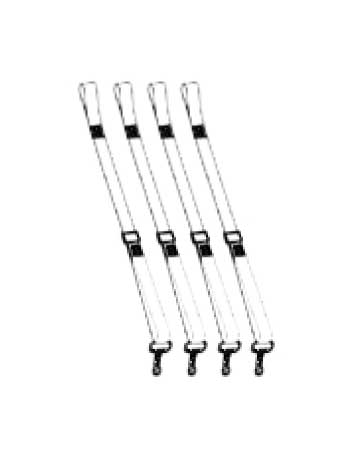
e. Attach the bimini to Deck Mounts. (2 places)
STEP 6
ATTACH SADDLES TO THE BOAT (4 places)
a. Mark the attachment positions (4 places)
b. Drill holes for Saddles on marked positions to suit screws used (8 places)
c. Secure saddles in place (4 places)
N.B. The type of screw used will be determined by the construction of your boat.
STEP 7
ADJUST WEBBING STRAPS TO TENSION THE BIMINI
STEP 1
RELEASE THE SNAP HOOK
STEP 2
UNZIP PANEL ON THE REAR POCKET TO RELEASE STORAGE BOOT PANEL
STEP 3
FOLD THE BIMINI & PLACE THE WEBBING STRAPS ON THE TOP
STEP 4
FOLD PANEL OVER BIMINI TOP & WEBBING STRAPS